Bathtubs

Bathtubs are made from many different types of materials, including enameled cast-iron, porcelain-enameled steel, and plastic. Plastic tubs are made from materials including ABS, PVC, fiberglass, fiberglass-reinforced plastic, acrylic, and cultured-marble acrylic. Bathtubs that are equipped with shower fixtures should be manufactured with slip-resistant surfaces. Bathtubs should have a drainage outlet (tailpiece) with a minimum diameter of 1-1/2 inches. Every tub should be equipped with a stopper. The bathtub should have an overflow outlet installed. The overflow prevents flooding if the tub is being filled while unattended, and prevents overflow of the water when a person enters a tub that is full.
Fire-Resistance
Bathtubs made of plastic are tested for fire ignition. They are made with fire-resistant chemicals to reduce their fuel contribution in a house fire or an accidental exposure to a plumber’s torch.
Large Bathtub Loads
Some bathtubs are so large that they can accommodate more than one person at a time. These larger bathtubs may need special and additional structural support underneath them to adequately support the load.
A 3×4-foot bathtub may have a capacity to hold 200 gallons or more. The weight of the bathtub, water, and occupants may total over 1 ton, considering:
200 pounds for the bathtub
+ 1,600 pounds of water
+ 350 pounds for two people
= 2,150 pounds
A very large tub may cause structural problems because live-loading for a typical residential home is 40 pounds per square foot. The live load for a 3×4-foot occupied tub may be assumed to be only 480 pounds but may weigh over 2,000 pounds while it is in use.
Maintenance Tips
The homeowner should make sure that the tub is free of cracks, rust and other staining, and that all edges, gaps and surrounding tile are adequately caulked to ensure that moisture cannot leach behind the tile work and drywall, which can lead to leaks and structural damage behind walls that won’t be evident until the issue becomes extensive and expensive to fix.
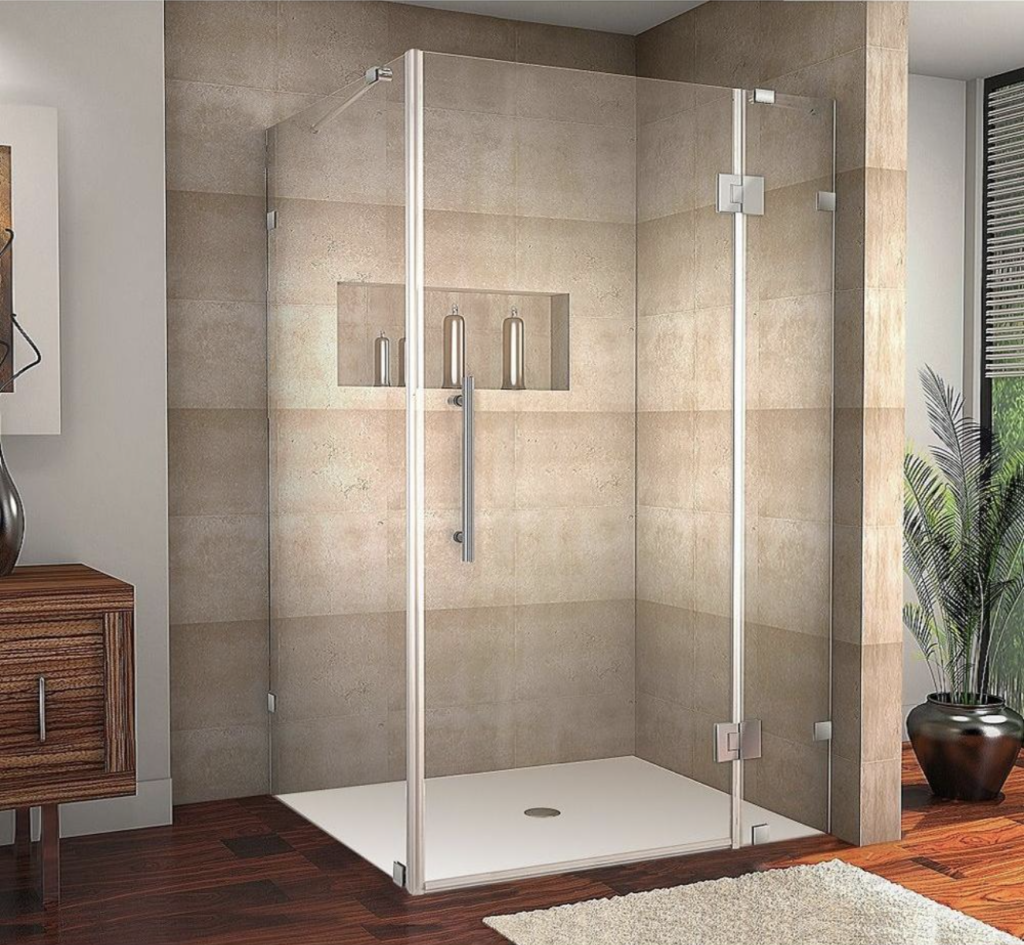
Showers
Plastic, pre-fabricated shower units are constructed of various synthetic materials, including ABS, PVC, gel-coated fiberglass-reinforced plastic, cultured marble, cast-filled fiberglass, polyester, cultured marble acrylic, and acrylic. These shower units are impregnated with fire-retardant chemicals to reduce the fuel contribution during a fire and protect against an accidental burn by a plumber’s torch.
The showerhead height is not typically regulated by building codes, but the head is commonly installed 70 to 80 inches above the shower floor.
Shower Water Pipes
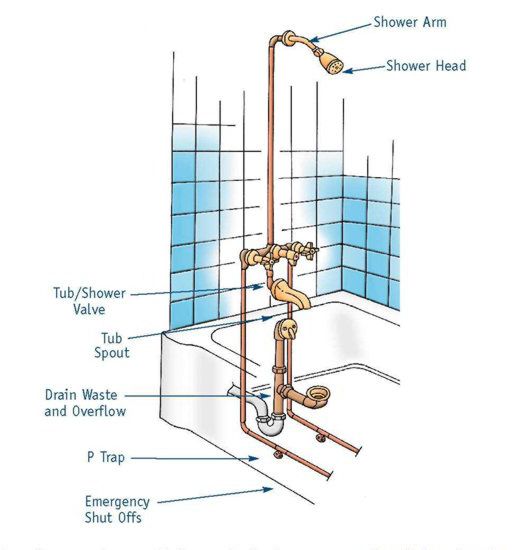
Water-supply pipes from the shower valve to the showerhead outlet — referred to as the shower riser pipes — whether exposed or not, must be firmly attached to a structural component to prevent the pipes from leaking caused by stress fractures or joint failures. Movement of the showerhead may move the riser piping, possibly causing failure of the piping. The risers must be firmly secured.
The common practice for installing the riser pipe is to place a drop-ear elbow at the top of the riser pipe. The elbow has two wing connections. They can be screwed to a structural backing board, such as a 2×4. A pipe strap can be used instead of a drop-ear elbow. When the riser is exposed, the manufacturer will typically provide a strap or attachment device to match the finish of the fixture and pipe. The strap or attachment device should be firmly secured to a structural component.
Shower Outlets
The waste outlet for a shower should have a minimum diameter of 1-1/2 inches. The shower outlet should have a strainer that is at least 3 inches in diameter, with dimensional openings in the strainer of at least a 1/4-inch. The strainer should be removable.
Shower Area
A shower compartment should have an interior cross-sectional area of at least 900 square inches. This will allow an average-sized adult to clean the lower body while bending over. A shower that’s any smaller would be inadequately sized. Shower compartments should be at least 30 inches in minimum dimension. This measurement is based on the movement of an adult body inside a shower and measured from the finished interior dimension of the compartment, excluding fixture valves, showerheads, soap dishes, and grab bars. There are exceptions for showers having fold-down seats, and those with compartments at least 25 inches wide and 1,300 square inches in cross-sectional area.
The exception allows for a shower with one dimension being 25 inches, provided the compartment has at least 1,300 square inches of cross-sectional area. This is useful to contractors and DIY homeowners who remove an old bathtub and install a standup shower fixture in the same space.
Shower Walls
Showers and bathtubs with installed shower heads should be finished with a non-absorbent surface that shall extend to a height of not less than 6 feet above the floor level of the room or 70 inches above the shower floor. It should be constructed of smooth, corrosion-resistant, and non-absorbent materials to protect the structural components from moisture damage. The gypsum or cement wallboard behind ceramic tiles of a shower wall should be water-resistant. The water-resistant material is not required in the rest of the bathroom, although it is a common practice to use water-resistant gypsum wallboard in other areas of the bathroom because of the moisture levels.
Shower Access and Egress Opening
Many injuries in a home are related to accidents in the bathtub or shower. The minimum opening requirements for access and egress allows an adult enough room to safely step into and exit the shower area without having to twist or turn through a narrow opening. The shower opening (or access and egress opening) should be at least 22 inches of clear and unobstructed finish width. The 22-inch width is based on the approximate shoulder width of an average-sized adult and provides comfortable access to service the valves, showerheads, and drain. It allows for emergency response and rescue access, and emergency egress.
Shower Floors
The shower floor surface must be watertight with smooth, corrosion-resistant, non-absorbent, waterproof materials. Joints between the floor and walls of the shower must be sealed or flashed to prevent water penetration. Ideally, there should be some type of slip-resistant floor surface. The shower floor structure needs proper support by a smooth and structurally sound base. The base of the shower floor should be designed to support both dead (structural) and live (people and water) loads.
Shower pans and liners are installed under and around showers to prevent moisture intrusion from getting into the structural supports under and behind the shower enclosure. They must meet specific standards for material, installation, and size in order to support both dead and live loads.
Shower Glazing
Glass doors enclosing the shower should be made of safety glazing. If a window is installed in the shower, the window should be made of safety glazing to provide protection. If a person slips or falls inside the shower, s/he may be seriously injured by the broken glass if the glass is not made of safety glazing. The safety glazing should be correctly labeled by being permanently marked in a corner, legible and visible after installation, and indoor applications should be marked “indoor use only.”
Maintenance Tips
Similar to other bathroom fixtures, the homeowner should make sure that the shower is free of cracks, rust, and other staining, and that all edges, gaps, and surrounding tile are adequately caulked to ensure that moisture cannot leach behind the tile work and drywall, which can lead to leaks and structural damage behind walls that won’t be evident until the issue becomes extensive and expensive to fix. Additionally, if the glazing for the showers doors is damaged, it should be replaced, as cracked glazing can break without notice and cause serious injuries.