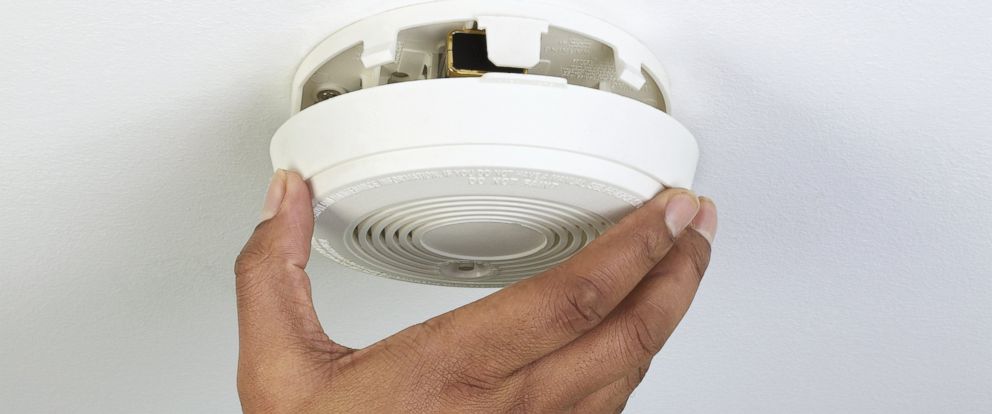
Smoke Alarms
Dust can clog the sensors in your smoke alarms so clean and test all your smoke alarms and if needed replace the batteries too.

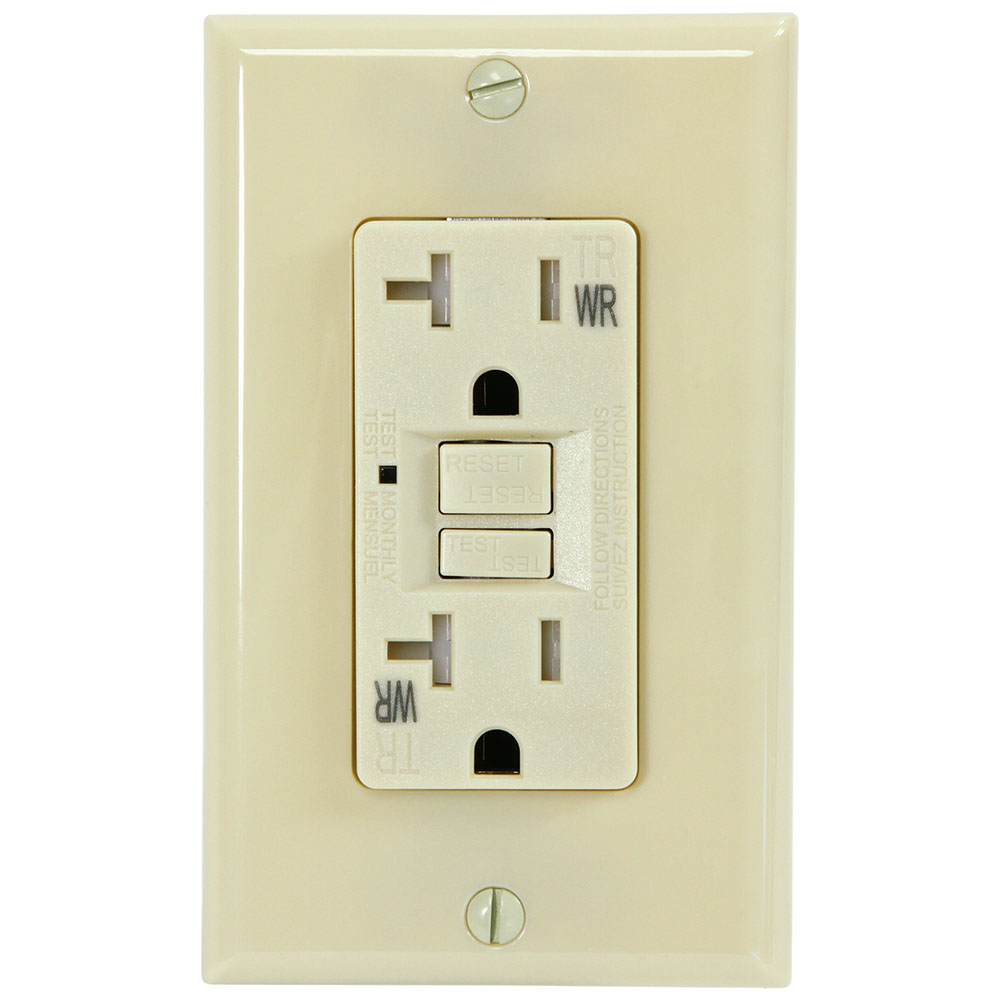
GFCI Outlet
Press the “Test” button on all your GFCI outlets in the bathrooms, kitchens, outside receptacles and on the electrical panel to confirm they are working as the manufacture intended. Tip: Some homes are wired so that one tripped outlet will shut off the power in other rooms too, so always double check that your GFCI has been reset.
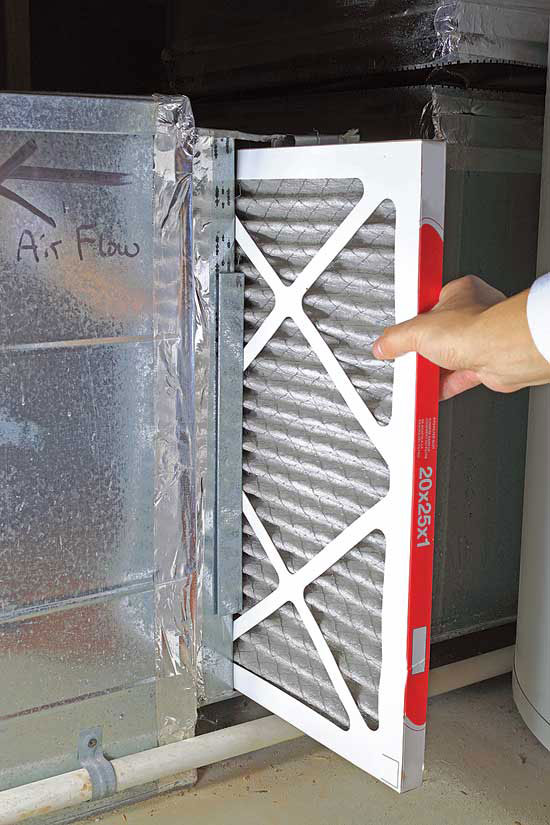
Furnace Filter
After a long hard winter of use your filter gets dirty. Change the furnace filter, make sure you instal it so that the arrow on the side of the filter faces in the direction of the air flow.

Roof
Take a long hard look at your roof from the ground. I don’t recommend you go on your roof, it’s dangerous for you and it’s not good for your roof. You can also get a good view by looking out a window onto the roof below. You are looking for any shingles or tiles that have broken loose, any flashings that have rusted through or have also come loose. If you’re at all unsure of anything you see, give us a call for a roof inspection and we will review our findings with you.

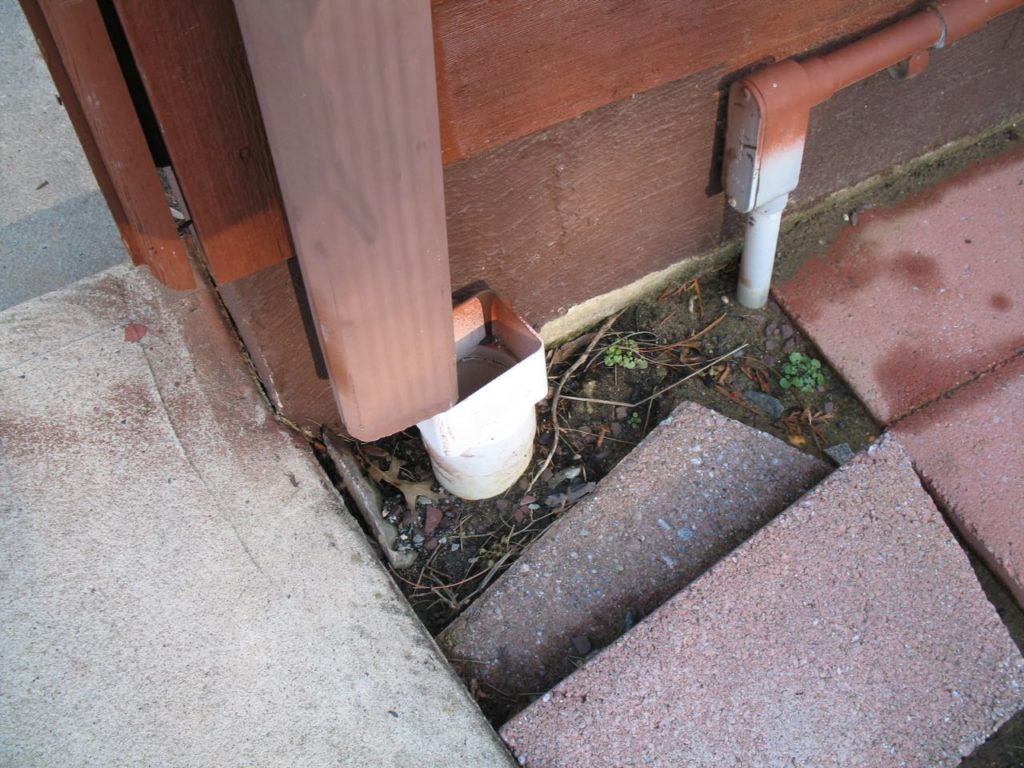
Gutters and Leaders
Clean gutters and leaders and make sure downspouts and splash pads drain away from walls and foundation.
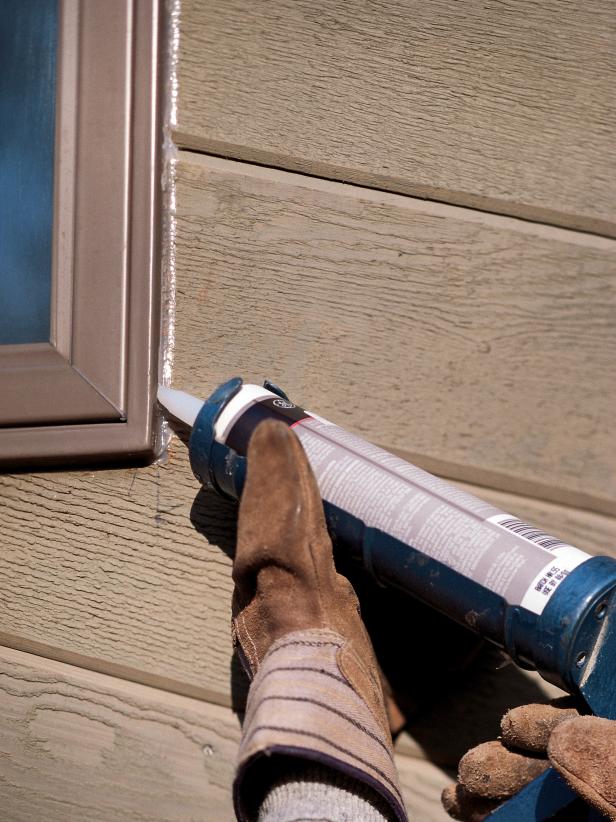
Caulking
Inspect the caulking inside and out and touch-up or replace where needed with the appropriate products.

Window
Windows get really dirty over the winter so give them a good cleaning, not only the glass surface but also, the window tracks and make sure weep holes are not blocked (including sliding door tracks – lubricate openers and track rollers with silicone spray).
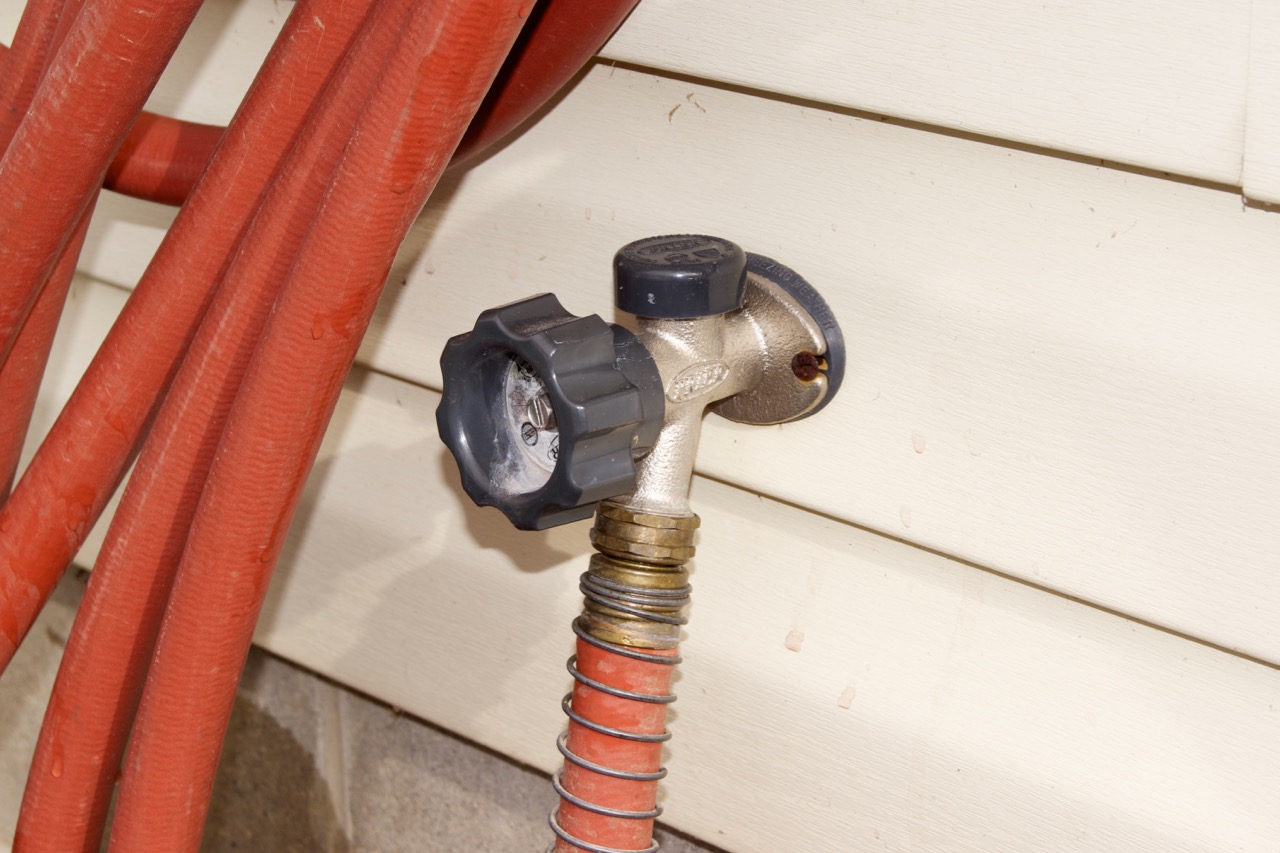
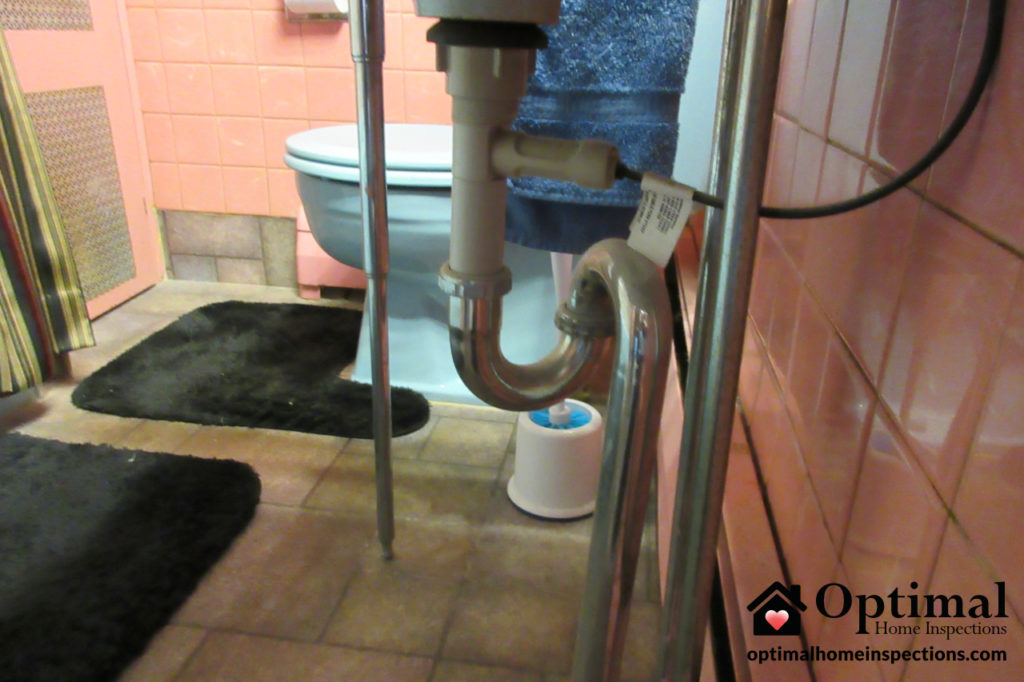
Outside Water
Remember to turn on the interior water supply to your hose bibs and exterior faucets.

Soil
The soil around your foundation tends to compact over the winter and spring is a great time (especially before the spring rains) to build the soil back up. I don’t recommend mulch (termites love it) or gravel (it allows the water to go down into the soil faster) — you want compact soil that will direct the water far away from your foundation and basement.

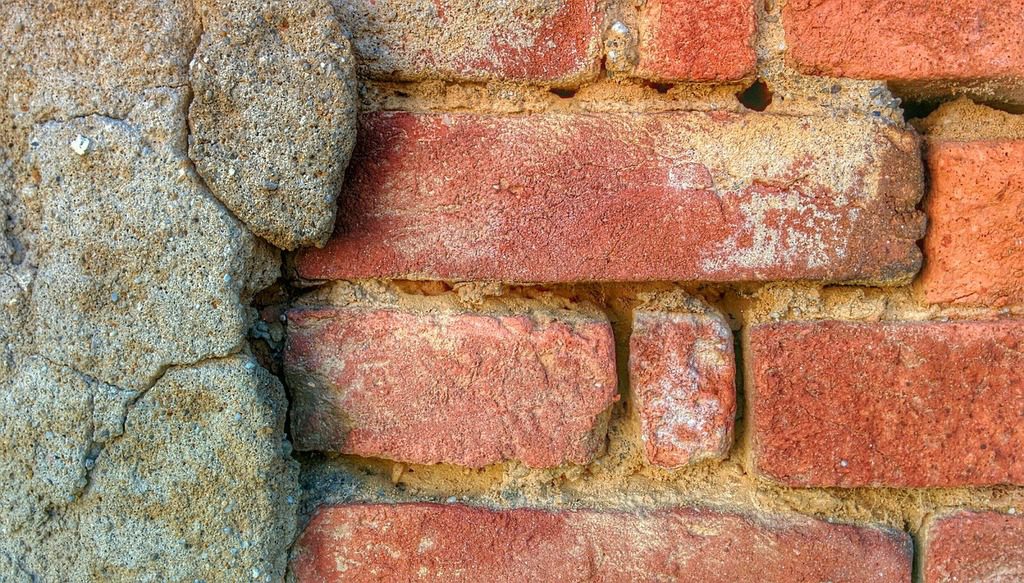
Concrete Walks
In the winter, water melts and trickles down between small cracks in your concrete. When the temperatures goes down the water freezes, it expands, and pushes apart the concrete. This is the freeze thaw cycle and it will destroy your concrete and masonry. It’s relatively inexpensive to fix these issues before they go too far so it’s important to take a look at these surface in the spring and fix them before serious damage can take hold.